I love natural makeup looks. Rather than layering on ten pounds of foundation and concealer, I focus my beauty routine on my skin care. To me, when your skin is glowing and radiant, nothing looks better.
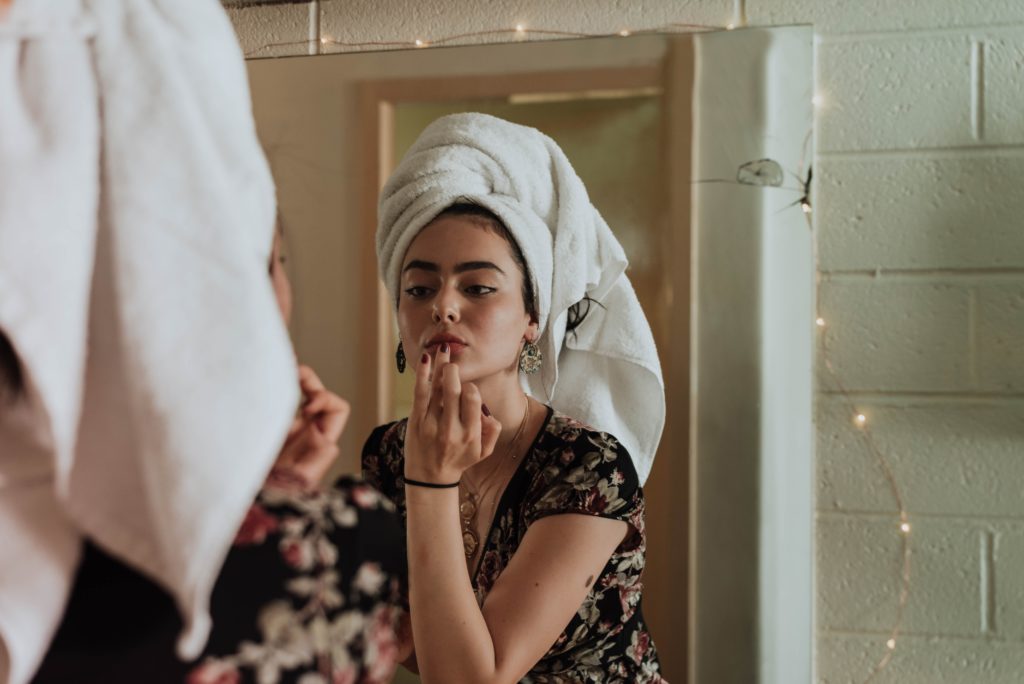
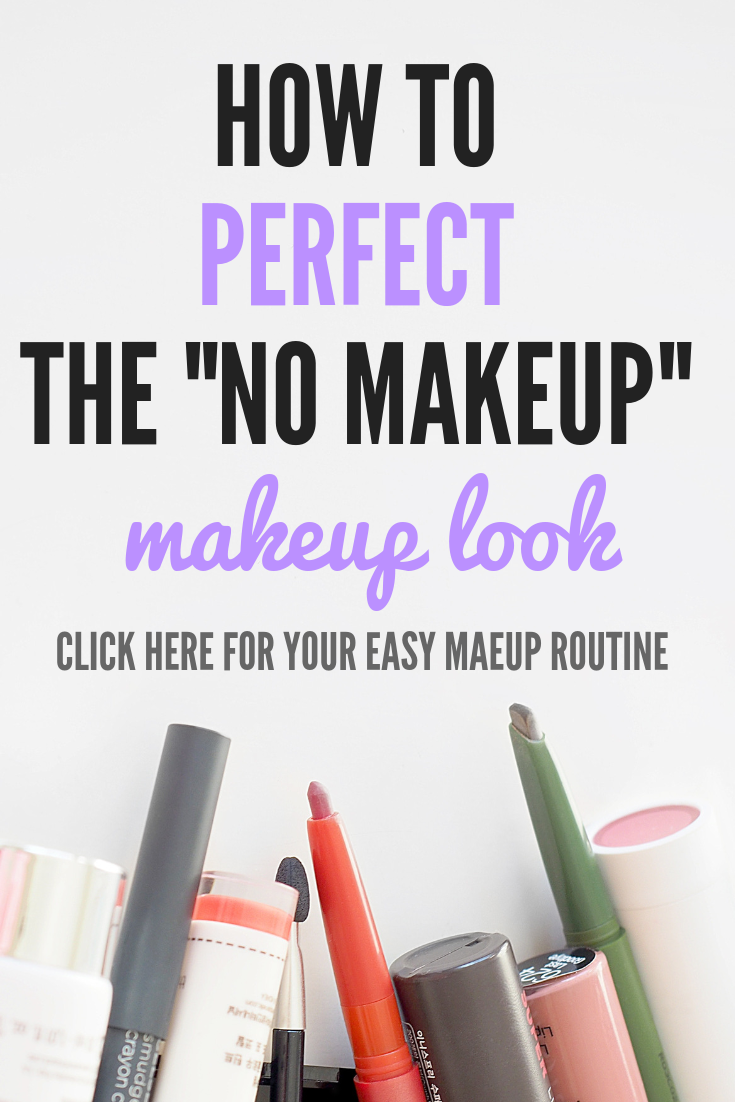
Having said that, though, I still wear makeup, and I generally feel better with a touch of makeup on. And so, today, if you also want to get that “no makeup” makeup look, I’ve got some quick and simple tips that I’ve found really helpful for achieving effortless and natural makeup similar to this:
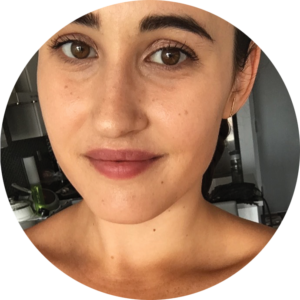
So sit back, relax, and let’s chat simple tips to help you achieve a natural glow.
Please note that this post does contain affiliate links, but I’ve only included links for products I use on a daily basis and love 🙂
Step 1: Skin Care
Establishing a skin care routine
If you really want that “no makeup” makeup look, you’ll want the focus of your look to be your skin, which makes it’s extremely important that you have a strong skin care routine.
If you need some help establishing a simple skin care routine that will dramatically improve the look of your skin, I put together a list of my skin care must-haves.
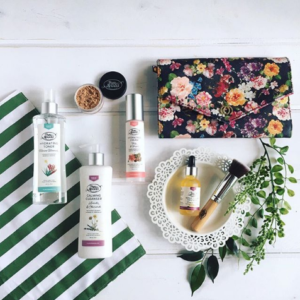
Image via @pureanada
Generally speaking, though, in my opinion, a high quality moisturizer that sits well under makeup is the most important aspect to focus on.
If you’re using a moisturizer that doesn’t interact well with foundation, chances are, your makeup will crack, you’ll look shinny, or you could even end up with visible dead skin on your face (yes, been there done that).
Picking a moisturizer
If you’re looking for a moisturizer that works well under foundation, I have always loved the First Aid Beauty Ultra Repair Moisturizer.
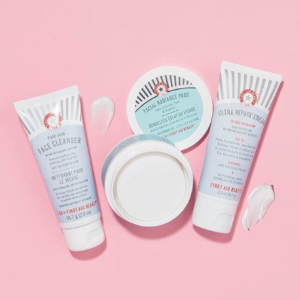
Image via @firstaidbeauty
Not only does this moisturizer hydrate and nourish my skin, it’s also extremely affordable, can be used all over my body, and comes in bulk sizes so I’m not constantly having to repurchase.
Pro Tip: I talked about this in my makeup tips to help make you look younger, but one common misconception about moisturizer is that people with oily skin shouldn’t moisturize. This is absolutely not true. In fact, if you have oily skin, you should likely be moisturizing more. Oily skin is often a sign that your skin is dehydrated, so it’s producing excess oil in order to make up for how dry it is. Moral of the story: Everyone should be moisturizing their skin regularly with a high quality moisturizer like the Ultra Repair Moisturizer.
Step 2: Foundation
Picking the right foundation
Once you start applying your makeup, picking the right foundation will make or break your look. If you’re using a matte foundation, or anything that is too drying, it’s not going to look natural. Plain and simple.
Instead what you need to find is a foundation that doesn’t mask your skin, but just enhances it for an effortless glow. And, if you know me, you probably won’t be too surprised by what I’m going to say here…
There is no better foundation than the It Cosmetics Your Skin But Better CC Cream.
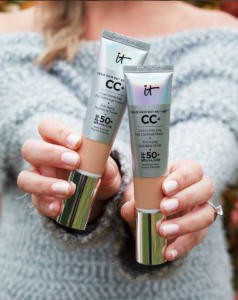
Image via @itcosmetics
This gem of a foundation is extremely lightweight and natural looking, but it still has amazing coverage that will help even out your skin tone.
Not to mention, this foundation actually has ingredients in it that will help improve the look of your skin as you wear it. In particular, I love that it has hydrolyzed collagen and hyaluronic acid in it, which is amazing for helping with hydration, glow, and anti-aging.
RELATED: It Cosmetics CC Cream Review: Is It Worth The Price?
(Side Note: I purchased another foundation that cost me an arm and a leg, but after a week of use, I had to repurchase my Your Skin But Better CC Cream, because the other pricey foundation just does not hold up against my CC cream. It’s just that good).
How to apply your foundation
Okay, so you’ve got your It Cosmetics CC Cream, but now you might be wondering how to apply it for an effortless glow.
Well, the secret here is to be particular with where you apply it. Rather than slathering it on all over your face, only choose the spots where you have redness or blemishes.
In addition, if you really want to ensure the foundation blends in seamlessly with your skin, you can use a damp beauty blender. The damp beauty blender will pick up any excess product you might have added, and it will help blend the makeup into your skin seamlessly.
However, as someone who has been using this CC Cream daily for the past year, it has such amazing coverage that I just use my fingers to blend. Super easy and convenient.
Step 3: Concealer
Picking the right concealer
I’ve mentioned this before, but I never use to wear concealer, but these days, I hate going without it.
For a natural makeup look, I suggest using your concealer specifically for your under eye. While, of course, you can use it to spot treat any blemishes, the key with this natural makeup look is to be conservative with how much makeup you’re wearing.
If you can stick with just wearing concealer on your under eye, I would suggest doing just that.
RELATED: How To Quickly and Easily Cover Dark Under Eye Circles
Similar to your foundation, when picking your concealer, you want to pick a product that is natural and hydrating.
To me, there’s no better concealer than the NARS Radiant Creamy Concealer. This product won’t have complete coverage, but when you’re looking for that natural look, you don’t want total and complete coverage. Instead, you simply want something that takes away some of the darkness from your under eye, while still allowing your natural skin to shine through.
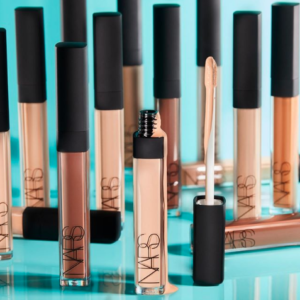
Image via @narsissist
Remember, this is a “no makeup” makeup look. We want to look radiant, but we don’t want it to look like we’re wearing any makeup. The Radiant Creamy Concealer will help you with this.
(If you’re looking for a good dupe for the Radiant Creamy concealer, this is a great option that I highly recommend based on personal experience)
How to apply your concealer
There are two points I want to make here.
First, with this concealer, I’ve actually always found that using my fingers works really well. However, if you have dry under eye, and your makeup tends to dry out, try using a damp beauty blender to add some hydration and ensure the concealer is blended in flawlessly.
Second, for this “no makeup” makeup look, I highly recommend adding concealer onto your eye lid as well. Just a dab or two.
This will really help brighten up your eyes beyond just covering your dark under eye circles. Trust me, once I started doing this it was a game changer in how bright and awake my eyes looked, which is key when you’re wearing such a minimal makeup look.
Do I need to set my concealer?
The easy answer to this is: it’s up to you.
Most makeup enthusiasts and pros will recommend setting your concealer to ensure it stays in place, and you to prevent creasing.
For me, with the NARS Radiant Creamy concealer, I’ve never found setting my under eye to be necessary. The product just stays there.
However, if your under eye is oily, or you have some fine lines that you want to smooth out, I am absolutely in love with the Hourglass Ambient Lighting palette.
This is a more pricey product, but I’ve had mine for a year now, and it’s still going strong.
The powder in the Ambient Lighting palette is so finely milled that it’s almost undetectable on the skin, which is extremely important when going for our “no makeup” makeup look. In addition, it adds a lot of brightness to the under eye without looking too bright. It’s just enough to give you an extra boost of radiance for your natural makeup look.
Step 3: Adding Color
As mentioned, for this “no makeup” makeup look, getting your base right is key to nailing the look. You want to ensure your skin is looking flawless, bright, and natural; however, if you were to just leave it at that, chances are, you might look a little washed out or dull.
To avoid this, I always recommend adding in some color by way of some combination of bronzer, blush, and highlighter.
Bronzer
For me, bronzer is an absolute must.
Without it, I look tired and dreary.
Having said that, though, I’m also not into looking like a carrot, which is why finding a bronzer that gives me natural color is so important.
And luckily, I found that natural color in the Physician’s Formula Butter Bronzer. There’s no weird sparkle to this bronzer, and it goes on so smoothly. Not to mention, it seems like vacation!
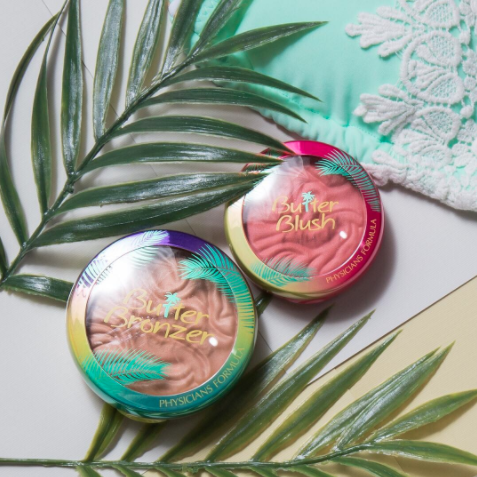
Image via @physiciansformula
To apply, focus the product on the perimeter of your face (your hairline, jawline, etc).
In addition, I always sweep a little across my eyelids to give some color there, while still keeping the look natural. (You don’t have to be precise with this. I even use the same exact brush!)
Blush
For a natural makeup look, I don’t often wear blush; however, I recently discovered the Glossier Cloud Paint blushes, and I’m absolutely obsessed.

These are cream blushes that you can simply dab on with your finger, and they give the most beautiful, effortless color. I’m partial to the pretty pink color of the shade Puff, but really, whatever color speaks to you, I’ve got a feeling you’ll love these cream blushes.
Having said that, if you want to keep the look even more effortless, skip the blush and let your bronzer do the talking.
Highlighter
Once again, highlighter isn’t an absolute must for this look, but I often do apply it in a few select places just to really ramp up my glow.
I’ll bring the highlighter down the bridge of my nose and onto the tip of nose for extra glow. I also always add some into my inner eye corner to draw light into my eyes, and help brighten the whites.
You, of course, can also add some onto your cheekbones to highlight, but just be careful how much you apply here. You want the highlighter to blend seamlessly, and excessive use on your cheekbones isn’t going to look natural.
For a natural look, my go-to has always been the Essence Pure Nude Highlighter. This product is budget friendly, and it doesn’t provide a blinding, excessive highlight.
I’d also recommend checking out the Haloscope by Glossier. This is a cream based highlighter, which makes it an excellent choice for a natural makeup look.
Step 4: Mascara + Lip Balm
To finish off, throw on some mascara and a swipe of lip balm, and you’re good to go! (this is the best mascara I’ve ever tried)
For me, keeping my eyes very natural with just some mascara is key to this “no makeup” makeup look. If I started adding in shadow and liners, the look starts to look less natural looking.
Same goes with my lips. Lipstick and glosses tend to be too much for me when going for a “no makeup” makeup look. Having said that, if your lips don’t naturally have a lot of color, and you’re feeling like they could use a little something, I am absolutely in love with Glossier’s The Balm Dotcom in cherry.
This balm has a slightly red tint to it, but it’s extremely natural looking, stays in place, and actually lasts so you’re not having to reapply every hour. Definitely worth picking up.
And there you have it!
That’s my process to achieving a natural makeup look.
I keep it simple intentionally, I emphasize glowing skin, and I try my best to find products that really blend in with my natural features.
Do you love a natural makeup look? Have you tried any of these products before?
Let me know in the comments below if you have any products in your makeup bag that you love for natural makeup. I love getting product recommendations!
And, if you found these makeup tips helpful, feel free to share this image with your Pinterest followers. Thanks so much, all! xx
Leave a Reply